
The complete guide
A Practical Guide to Choosing Mini Butt Hinges
A small wooden box can look almost finished until it is time to attach the lid. A hinge that is too large crowds the back edge. One that sits in the wrong place can leave a gap or stop the lid closing properly. Small hardware needs the same care as larger fittings, just with less room for error.
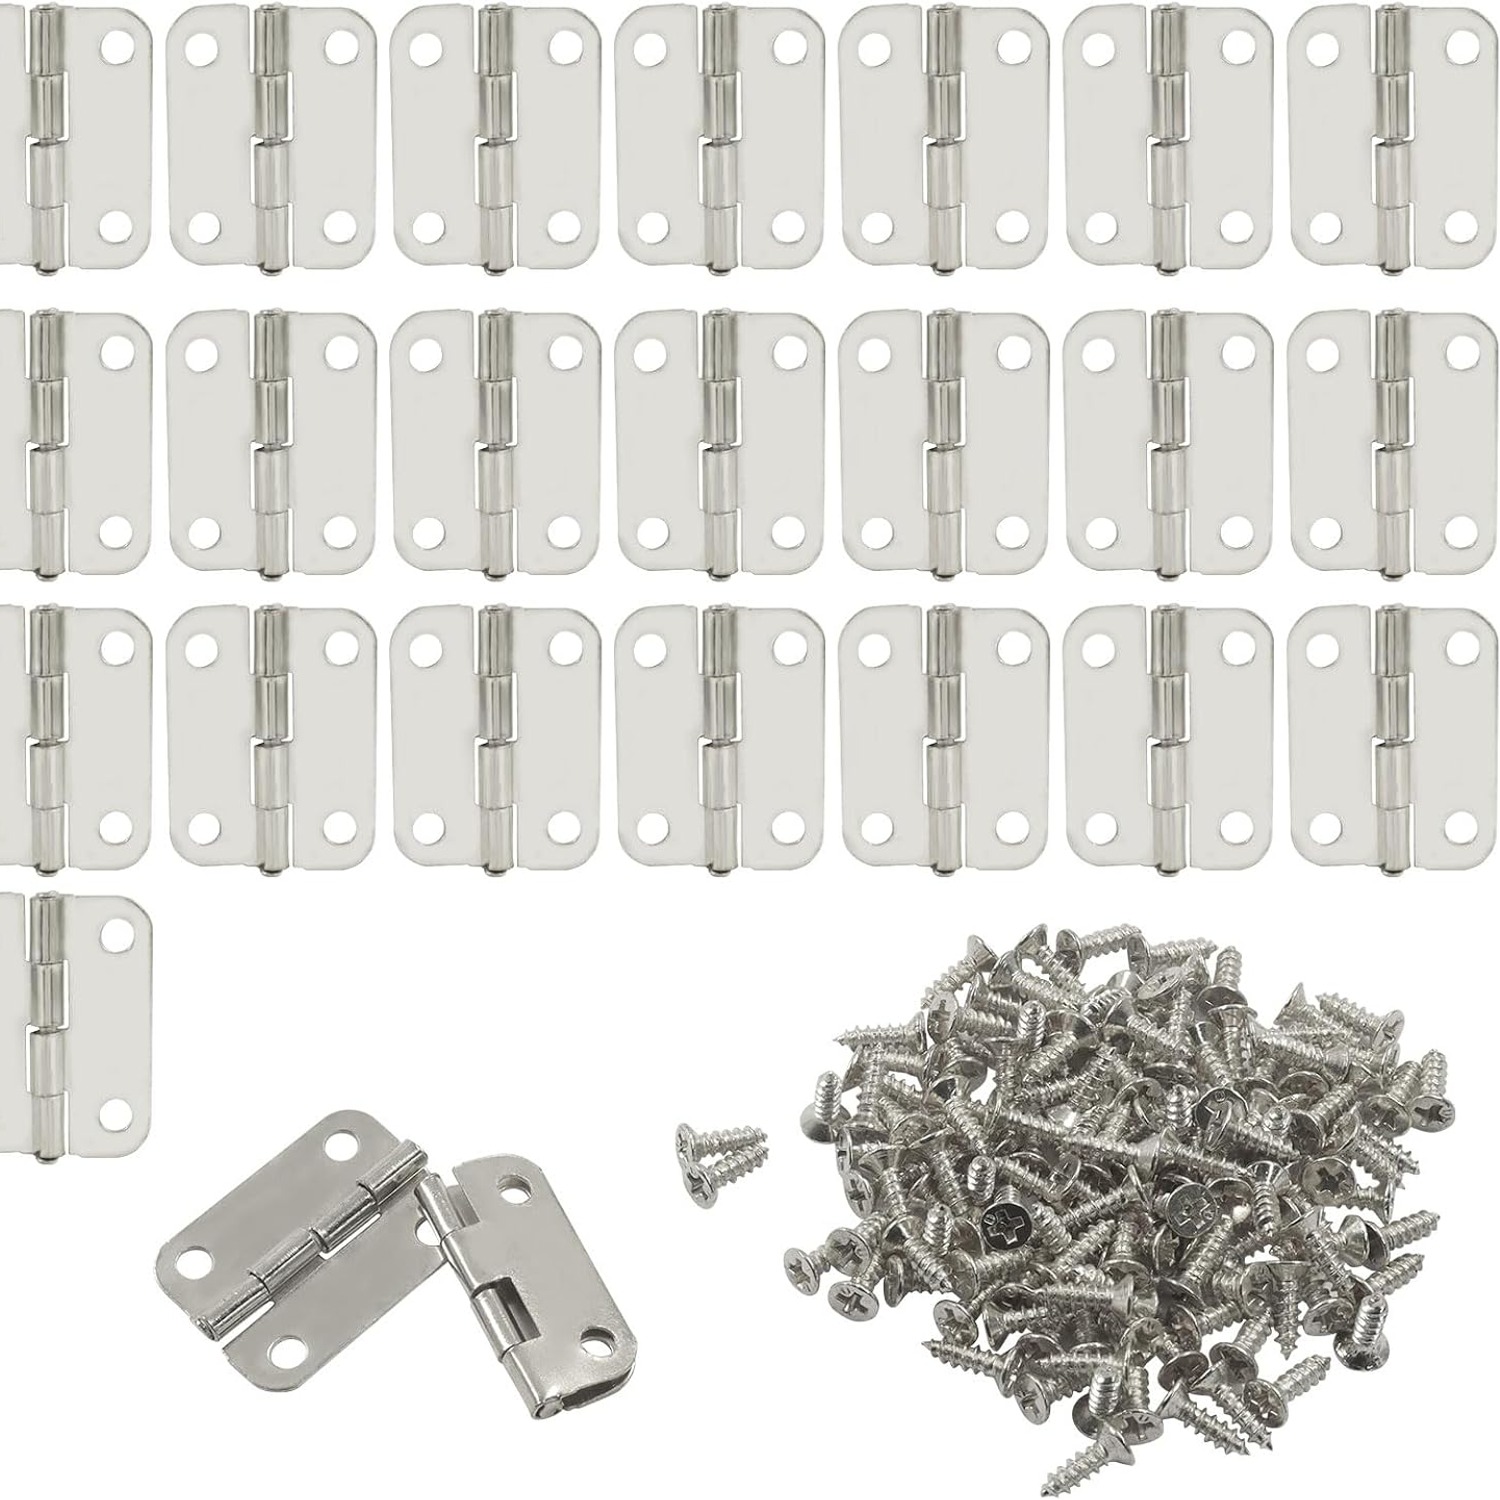
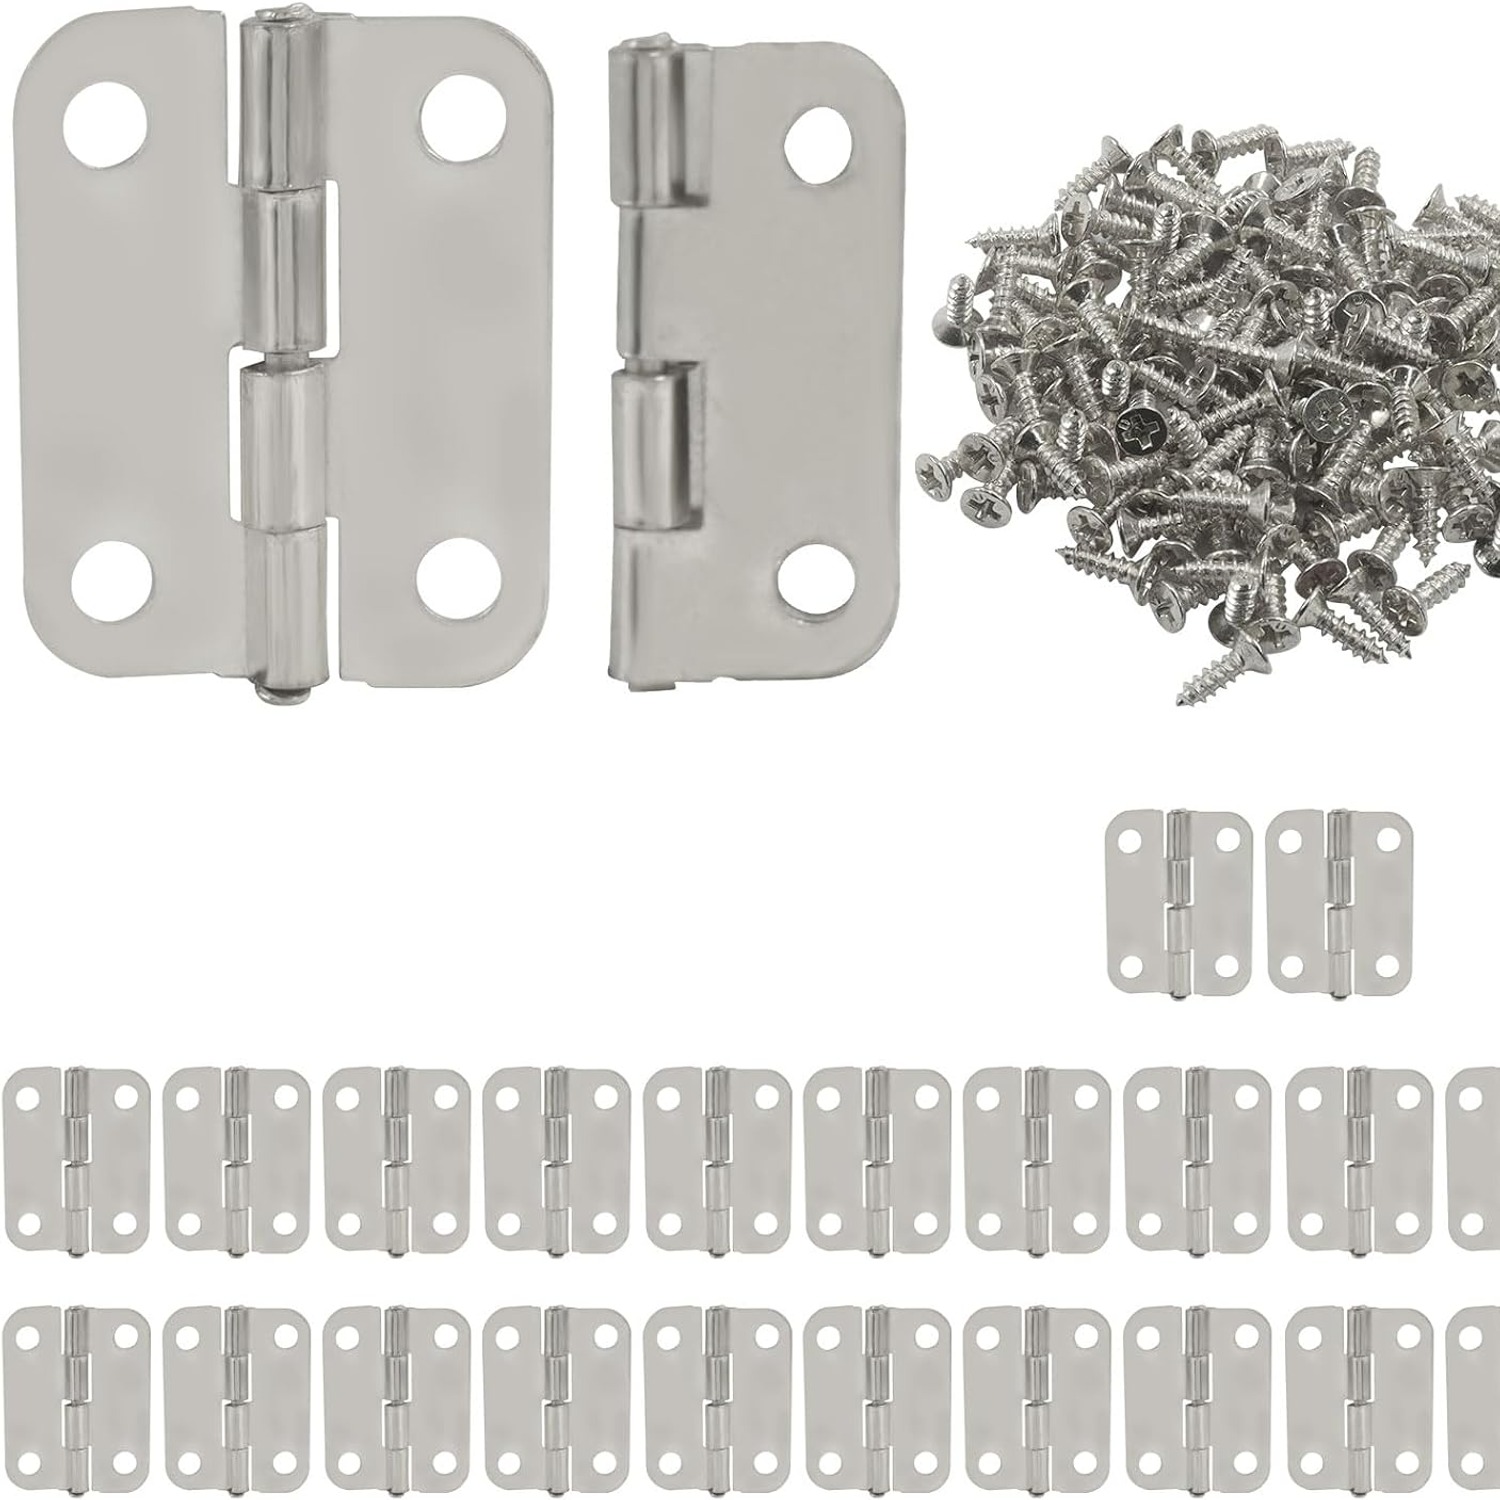
These Murtenze mini butt hinges offer a compact option for boxes, craft pieces and suitable small cabinet doors. The pack contains 24 silver iron hinges with screws. Before you choose them, the main questions are simple. Will they fit the wood, allow the movement you need and suit the size of the lid?
What a mini butt hinge does
A butt hinge has two leaves joined around a pivot. One leaf fixes to the body or frame, while the other fixes to the moving part. As the hinge turns, the lid or door opens.
That simple layout makes small woodworking hinges useful for projects where you want a visible, straightforward fitting. They can be considered for a wooden case, a small display box or a model door. The supplier lists jewellery boxes, dollhouses and small cabinets among the intended applications.
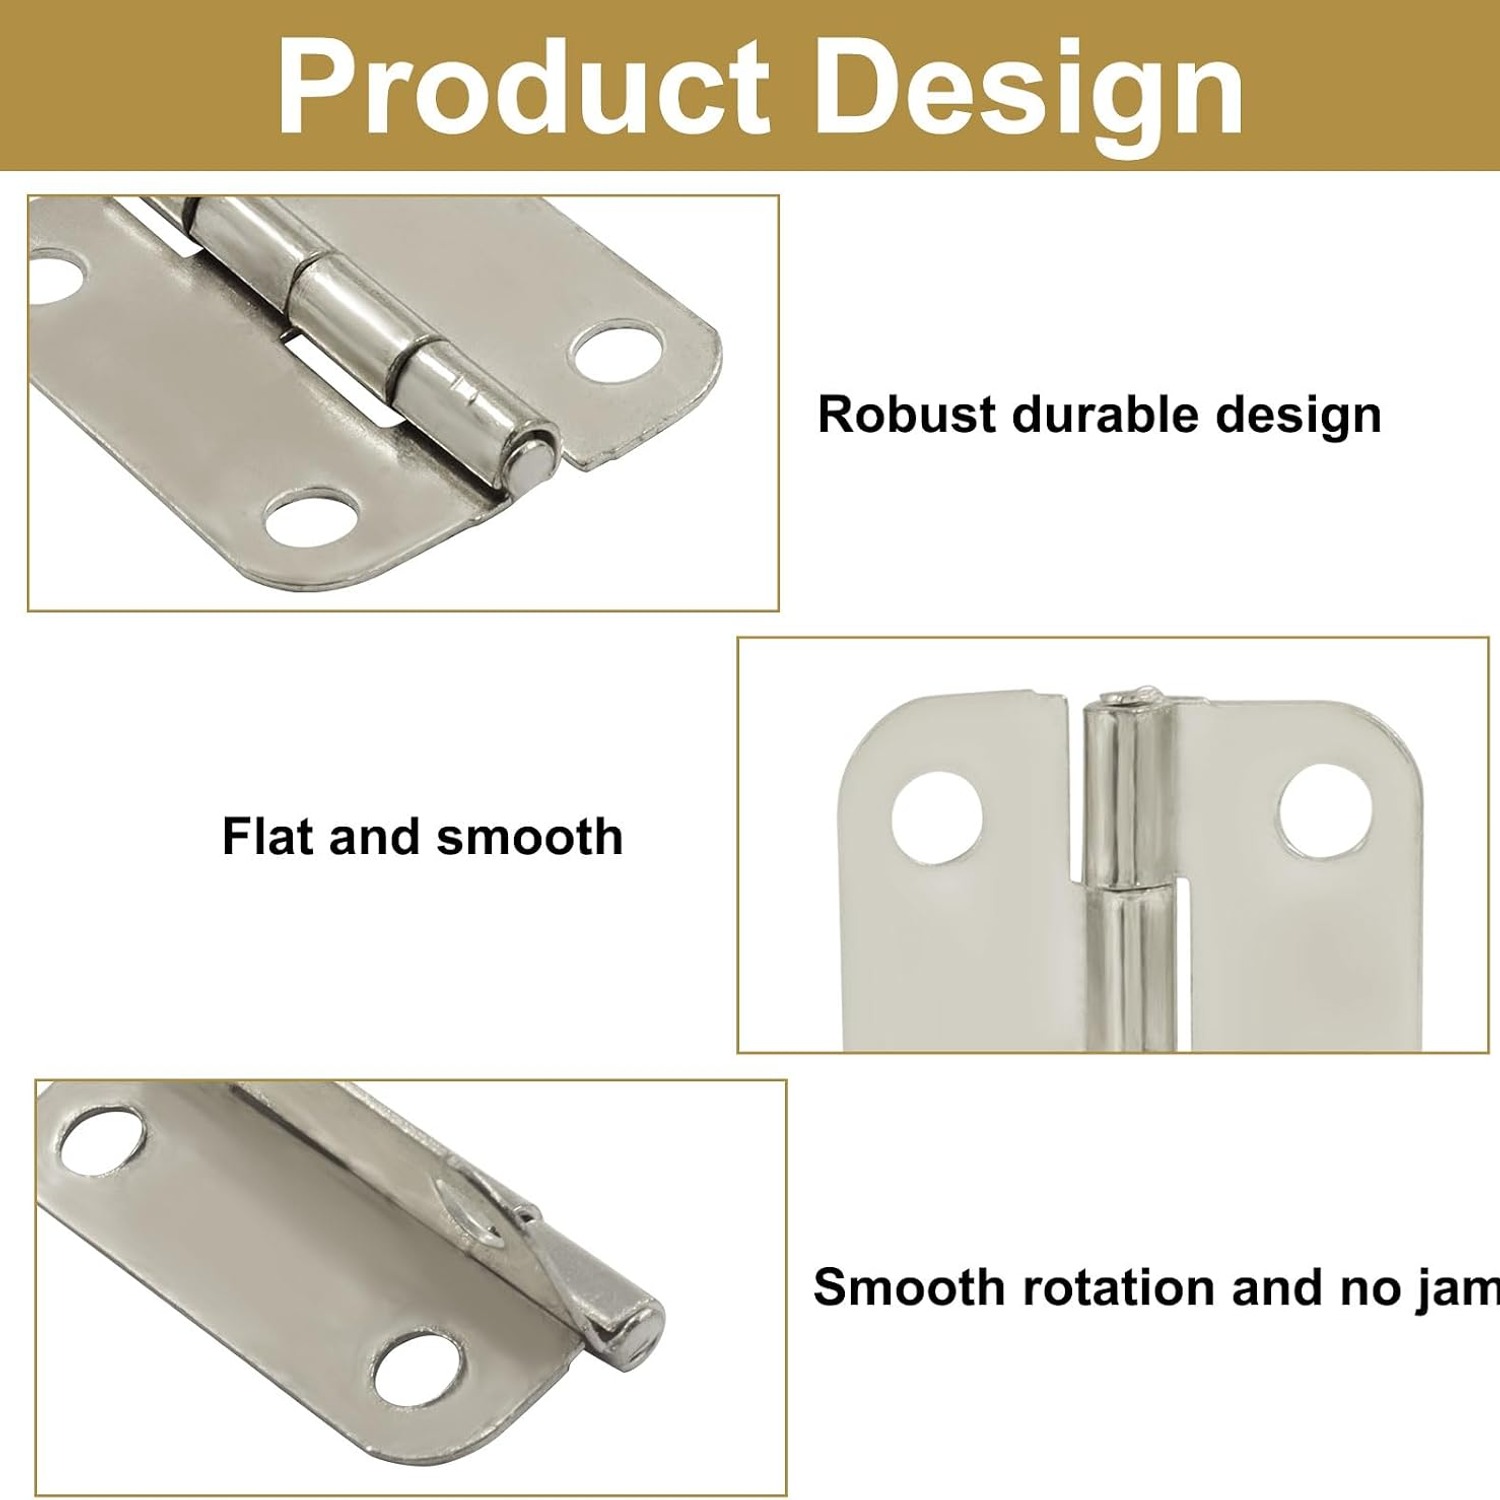
These hinges are listed as surface mount. Plan around the space the leaves and pivot will occupy rather than assuming they will disappear into the wood. The hinge position affects both the appearance and the way the parts meet when closed.
Start with the measurements
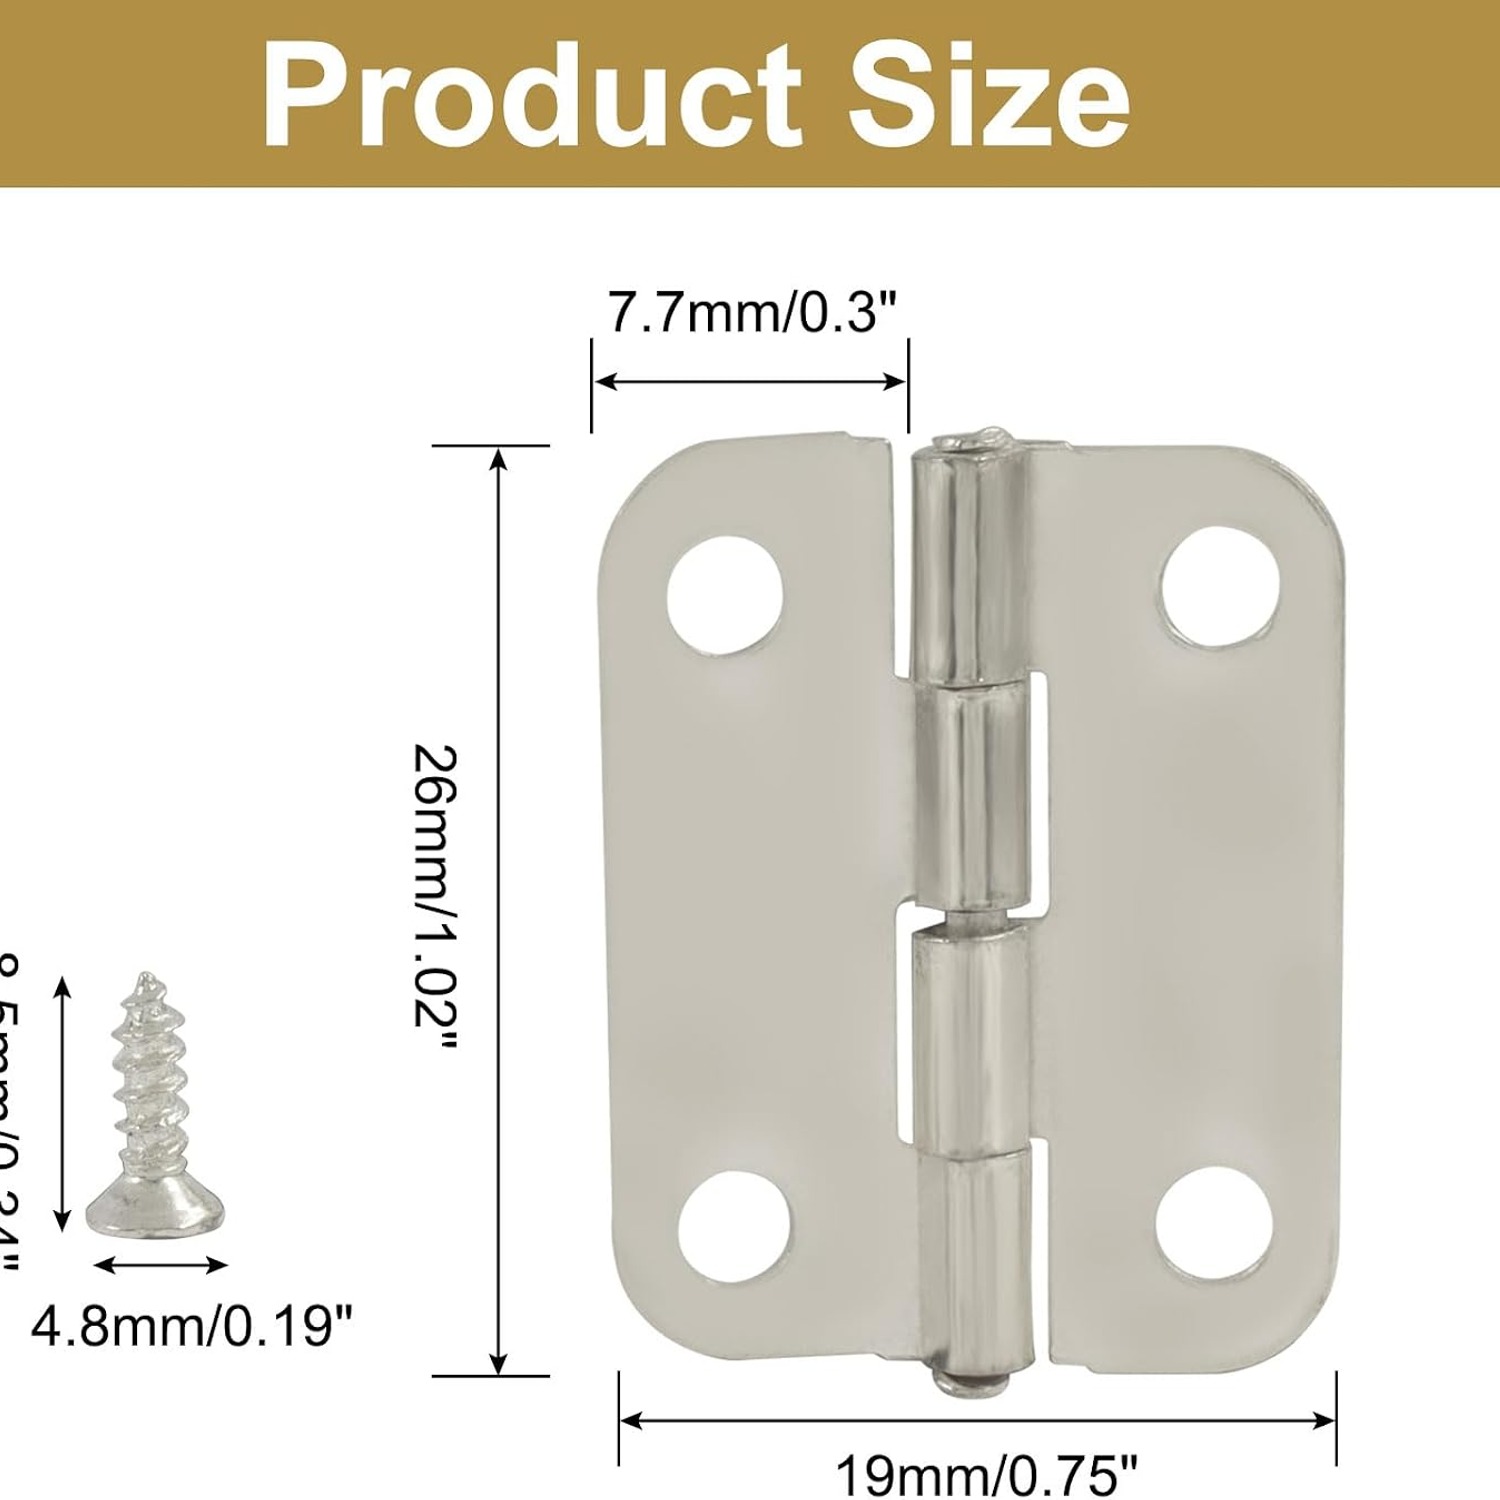
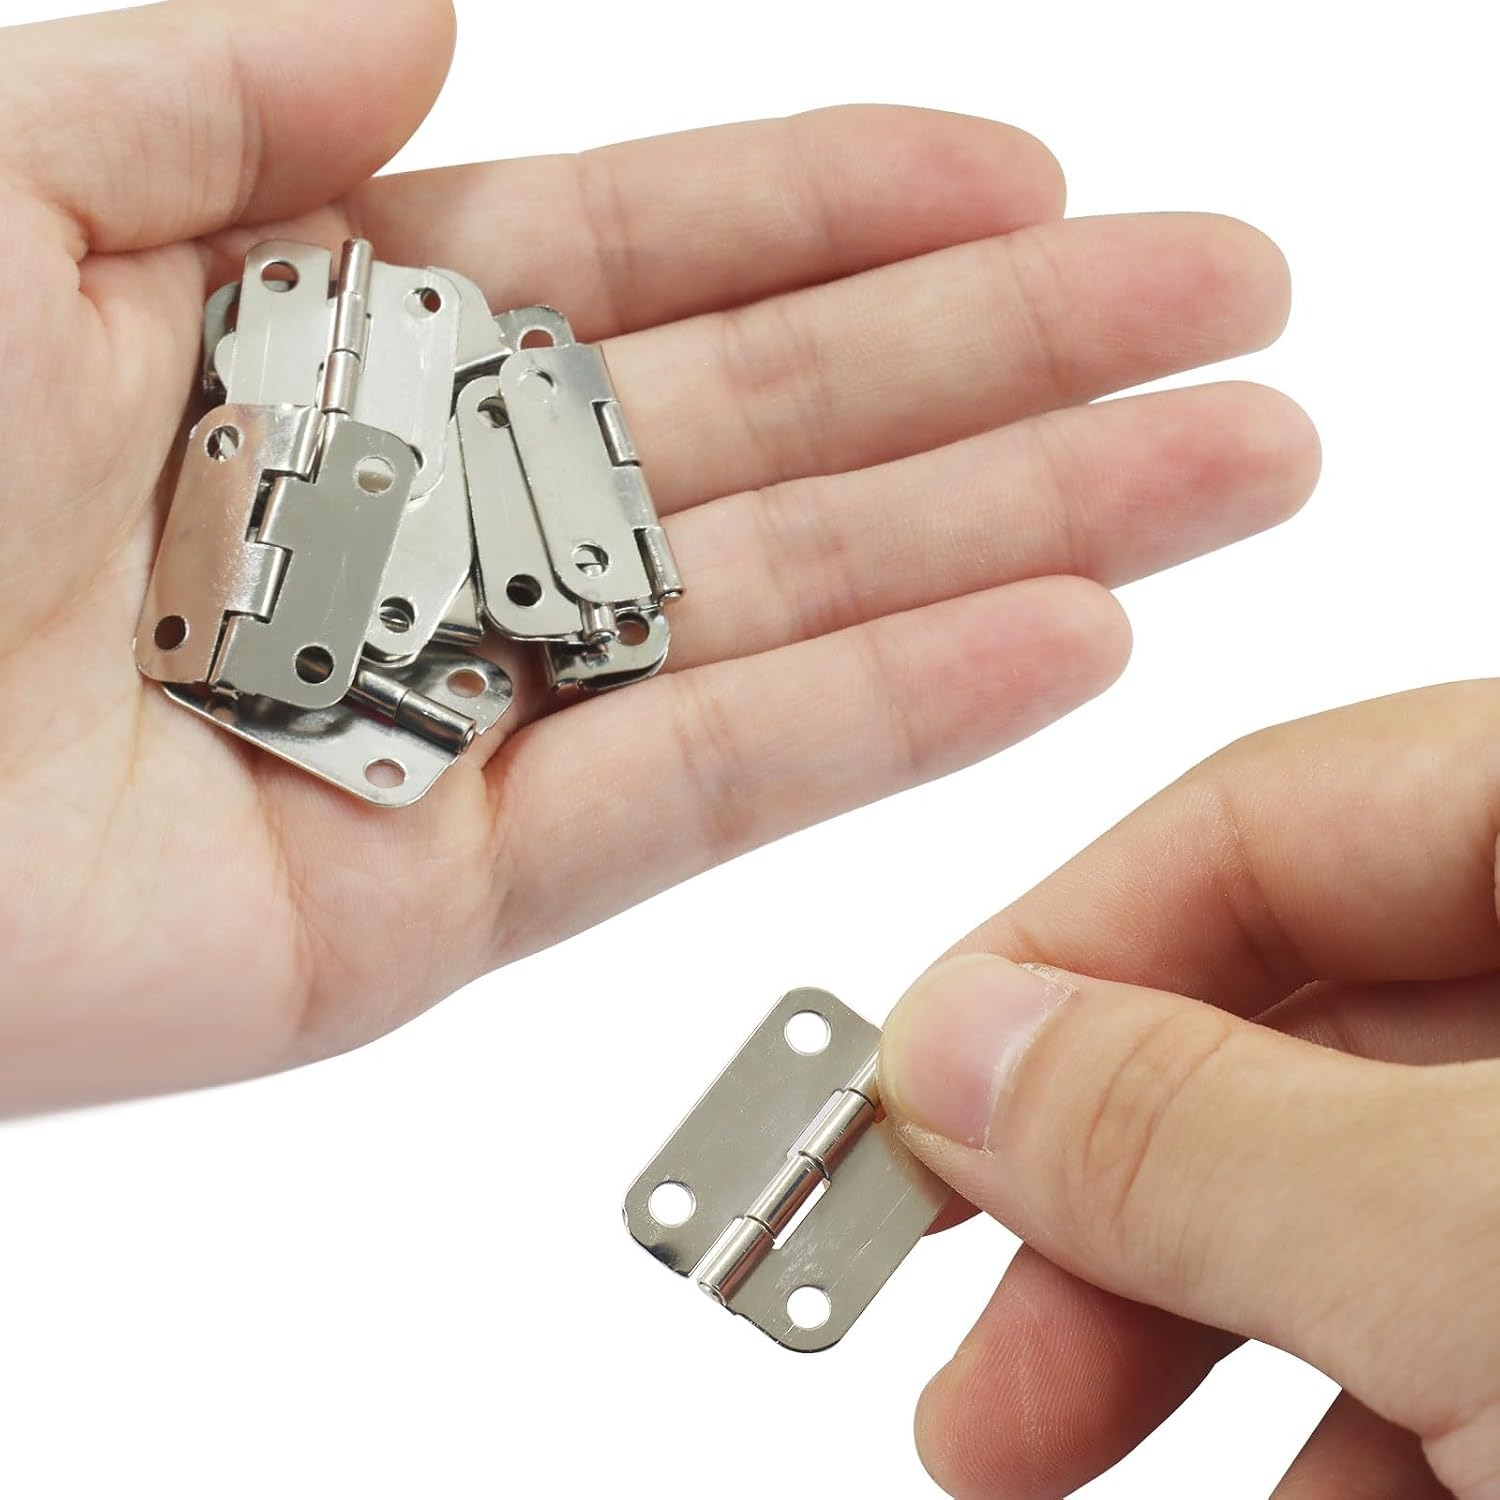
The first buying check is size, and this listing has a detail worth noting. The product specifications give 25 x 19 mm. The supplier feature text gives 26 x 19 mm. The one-inch description should therefore be treated as a nominal size, not an exact machining measurement.
That difference may not matter on an open mounting surface. It can matter if you are replacing a hinge in an existing recess or working close to the edge of a very small box. If a millimetre could change the fit, check the actual hardware before cutting or drilling.
A useful planning step is to mark the listed footprint on paper and place it against the workpiece. This helps you judge the scale, though it cannot confirm the screw positions or pivot clearance. Those details need to be checked against the hinge itself.
Match the hinge to the project
Small wooden box hinges need to suit more than the outside size of the box. A small box can still have a heavy lid. Thin sides may also leave little depth for screws, even when the hinge looks right from the back.
No load rating is specified for this pack. That means you should not calculate a safe lid weight from the number of hinges, their size or the listed item weight. For heavy lids, valuable contents or work where failure could cause injury, look for hardware with a stated capacity.
For lighter craft work, compare the hinge with the actual lid and frame. Consider how often the item will be opened and whether the wood is sound. A hinge is only part of the connection. Its screws and the material they grip matter too.
Think about the look of the finished piece
The listed finish is silver, and the material is iron. That gives you a clear starting point when matching other visible hardware, such as a latch or handle. It does not mean the hinges are stainless steel.
Silver box hinges can be a useful visual detail when you want the fittings to remain visible. On a small wooden case, the hinge shape becomes part of the overall design. Check the product images against the style of your project, while allowing for differences between screen colour and the physical finish.
Do not choose on appearance alone. A finish that looks right cannot make up for a poor fit or a screw that is too long. Settle the practical checks first, then decide whether the visible metal suits the piece.
Check the screws before fitting
Screws are supplied, which saves you from starting with hinges alone. However, their length, diameter and head type are not listed by the maker. Check them in person before deciding how to prepare the wood.
Hold a screw beside the mounting area and compare its length with the available depth. Account for the hinge leaf as well. On thin box sides, a screw can reach through the wood or split an edge if the fit is wrong.
Use a screwdriver that fits the head properly. A poor fit makes a small screw harder to control and can damage the head. If pilot holes are needed, choose their size and depth for the screws and wood you actually have, rather than following a general measurement.
Plan the movement before making holes
A hinge needs clearance around its pivot. Even when both leaves fit on the wood, the lid may catch on the box edge or another part of the project as it opens.
Position the hinges and check how the parts line up when closed. Look from the side as well as the back. If you are using more than one hinge, their pivots need to line up so they can move together without binding.
Mark positions only when you are happy with the fit. A scrap piece of similar wood can be useful for checking screw grip and practising the fixing method. It is much easier to learn on an offcut than to repair a finished jewellery box.
Take extra care with replacement work
Replacement box hinges can seem like an easy swap, but outside dimensions are only one part of the match. The screw-hole spacing, leaf thickness and pivot position also affect whether a new hinge will work in the old location.
Those measurements are not provided here. Do not assume the supplied screws will line up with existing holes. Compare the old and new hardware before removing more wood or making changes you cannot easily undo.
Check the condition of the old holes too. If the wood is damaged or the screws no longer grip, changing the hinge alone will not solve that problem. The fixing area needs to be sound before new hardware can do its job.
Know what the hinge does not promise
A basic pivot is different from a closing or support mechanism. This record does not specify soft closing, a self-closing action or a feature that holds a lid open.
If a lid could fall onto fingers, plan for suitable support rather than expecting the hinges to keep it raised. The opening angle is not listed by the maker either, so check the available movement before building a design around a particular angle.
The same caution applies to outdoor use. The supplier copy describes resistance to rust, but no outdoor rating or coating specification is given. For damp or exposed settings, choose hardware with clear suitability for those conditions.
Make good use of a matching pack
A 24-piece pack can be useful when you are making several small items and want the same visible hardware throughout. It may also leave spare hinges for later repairs or related projects.
Work out your needs from each design rather than assigning a fixed number of hinges to every lid. This record does not give a rule for hinge spacing or quantity per door. More hinges should not be treated as a substitute for a confirmed load rating.
If you are buying craft box hinges as a gift, check what the maker likes to build. A useful hardware gift is one that matches their scale of work. Miniature cabinet hardware may be welcome for model projects but unsuitable for the larger furniture they usually make.
Care for the hinges and fixings
Simple care starts with keeping the hinges clean and dry. Wipe dust away with a soft cloth, and remove moisture promptly. Avoid abrasive cleaning products that could mark the finish.
From time to time, check whether the screws remain secure. Tighten gently if needed, without forcing a screw that no longer grips. If movement becomes stiff or uneven, look for a loose fixing, misalignment or contact between the wooden parts before applying more force.
Keep any unused hinges and screws together in a dry place. Having the matching parts in one labelled container makes the next small repair easier to plan.
The short version
These Murtenze mini butt hinges are a 24-pack of silver iron hinges with screws, intended for small boxes and similar projects. Their listed footprint is 25 x 19 mm, with a conflicting 26 x 19 mm measurement elsewhere in the supplier text.
Choose them by checking the mounting area, screw depth and required movement. For close-fitting replacement work, verify the actual hardware before drilling. If your project needs a known load capacity, outdoor rating or lid-holding feature, choose fittings that state those features clearly.